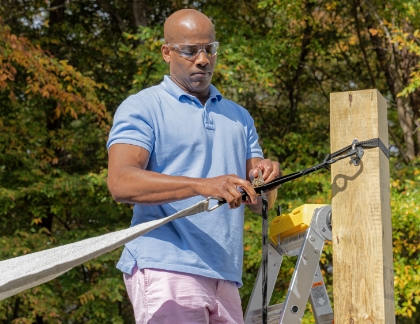
Every backyard is a little different, and your Coolaroo Wand Operated Outdoor Roller Shade is built to flex with yours. Whether you want to move the wand to the other side or switch between a wall mount and a top mount, these two quick guides walk you through it step by step.
Follow along with our 3D guides below, or skip to the written steps.
Watch the 3D Guides
Switch Your Wand to the Other Side
Stock shades come with the control side on the right. Prefer it on the left? You can swap it yourself in just a few minutes.
Wall Mount or Top Mount, Your Call
Your shade ships ready for wall mounting, and it converts to a top mount just as easily. This guide shows how to reorient the brackets for your setup.
Getting Started
What You'll Need
Before You Start
- Fully roll up the shade before removing it from the brackets. This keeps the fabric protected and makes the shade easier to handle.
- Check that both brackets are level with each other before reinstalling. Uneven brackets are the number one reason shades don't raise or lower smoothly.
- Have a helper on hand if your shade is 8 ft or wider.
How to Swap the Wand to the Other Side
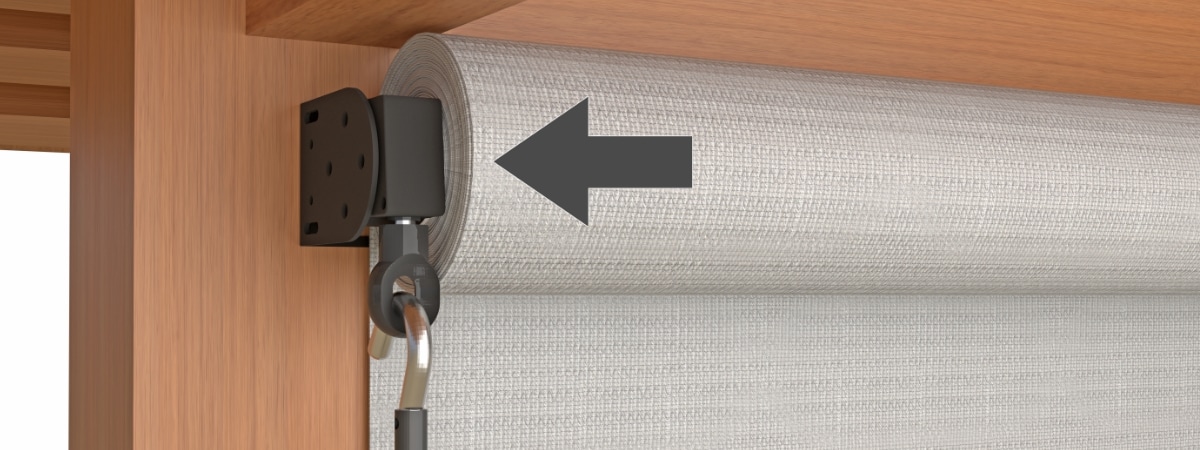
By default, the Wand Bracket Assembly sits on the right and the Idle Bracket Assembly sits on the left. To reverse them:
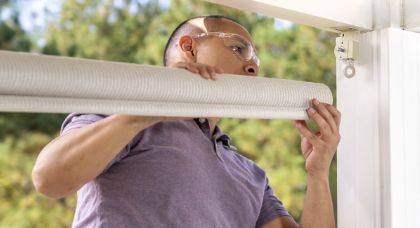
- Take the shade down. Lift the shade out of both brackets and set it on a flat, clean surface.
- Unscrew both brackets from the wall or overhead surface using your Phillips-head screwdriver. Keep the screws handy.
- Swap sides. Move the Wand Bracket Assembly to the opposite side, and move the Idle Bracket Assembly to the side where the wand used to be.
- Reattach the brackets, making sure they stay level with each other.
- Reinstall the shade. Insert the Control End Plug into the mechanism of the Wand Bracket Assembly, then slide the Idle End Plug into the Idle Bracket Assembly until it clicks into place.
- Test the wand. Give it a gentle turn to confirm smooth operation, and make sure the wand hangs straight down from the bracket.
Tip: Keep the Wand Eyelet pointed straight down so the wand rotates smoothly and evenly.
How to Change Between a Wall Mount and a Top Mount
Coolaroo shades ship set up for wall mounting, but the same brackets work for a top mount with a quick reorientation.
- Remove the two screws from each bracket (both the Idle End and the Control End).
- Reorient the Idle End Bracket. Keep the opening facing out and rotate the bracket to your desired orientation (wall or top).
- Reorient the Control End Bracket. Keeping the Wand Eyelet hanging straight down, rotate the bracket to match.
- Put the screws back in to secure the brackets in their new position.
- Reinstall the shade into both brackets, making sure the Control End Plug and Idle End Plug are fully seated.
- Do a quick check. Make sure both brackets are level with each other so the shade raises and lowers evenly.
Minimum surface requirements:
- Wall Mount: 2 1/8″ flat vertical surface, 3″ projection
- Top Mount: 2 1/4″ minimum casement depth, 2 1/8″ minimum fully recessed depth
Still Have Questions?
Our team is here to help. Call 1-800-560-4667 or contact us for replacement parts, product registration, and more installation resources.